10 Simple Tips To Improve Your Pet Photography Today
There are so many ways you can instantly improve your pet photography whether you are a pro or an amateur.
Today, you’ll find I’m revealing ten simple tips you can use starting today to improve your pet photography.
For all the tips, keep on reading!
(You can watch the companion video to this post here)
Pssst… love this post? Be sure to pin it for later!

10 Simple TIps To Improve Your Pet Photography Today
1 CHANGE YOUR PERSPECTIVE
First things first, change your perspective, meaning that in order to capture more captivating pet photos, you want to get on the dog’s level. That means, sitting, squatting, laying down on the ground, putting the dog up higher than you, etc.
Not only will that help you improve your pet photography, but when you get low, it will prevent any elements in the background from generally behind right behind the dog, sticking out of their head, coming out of the side of them, etc.

In this photo of Xena at the lake, I’m actually sitting down on the ground at her level.
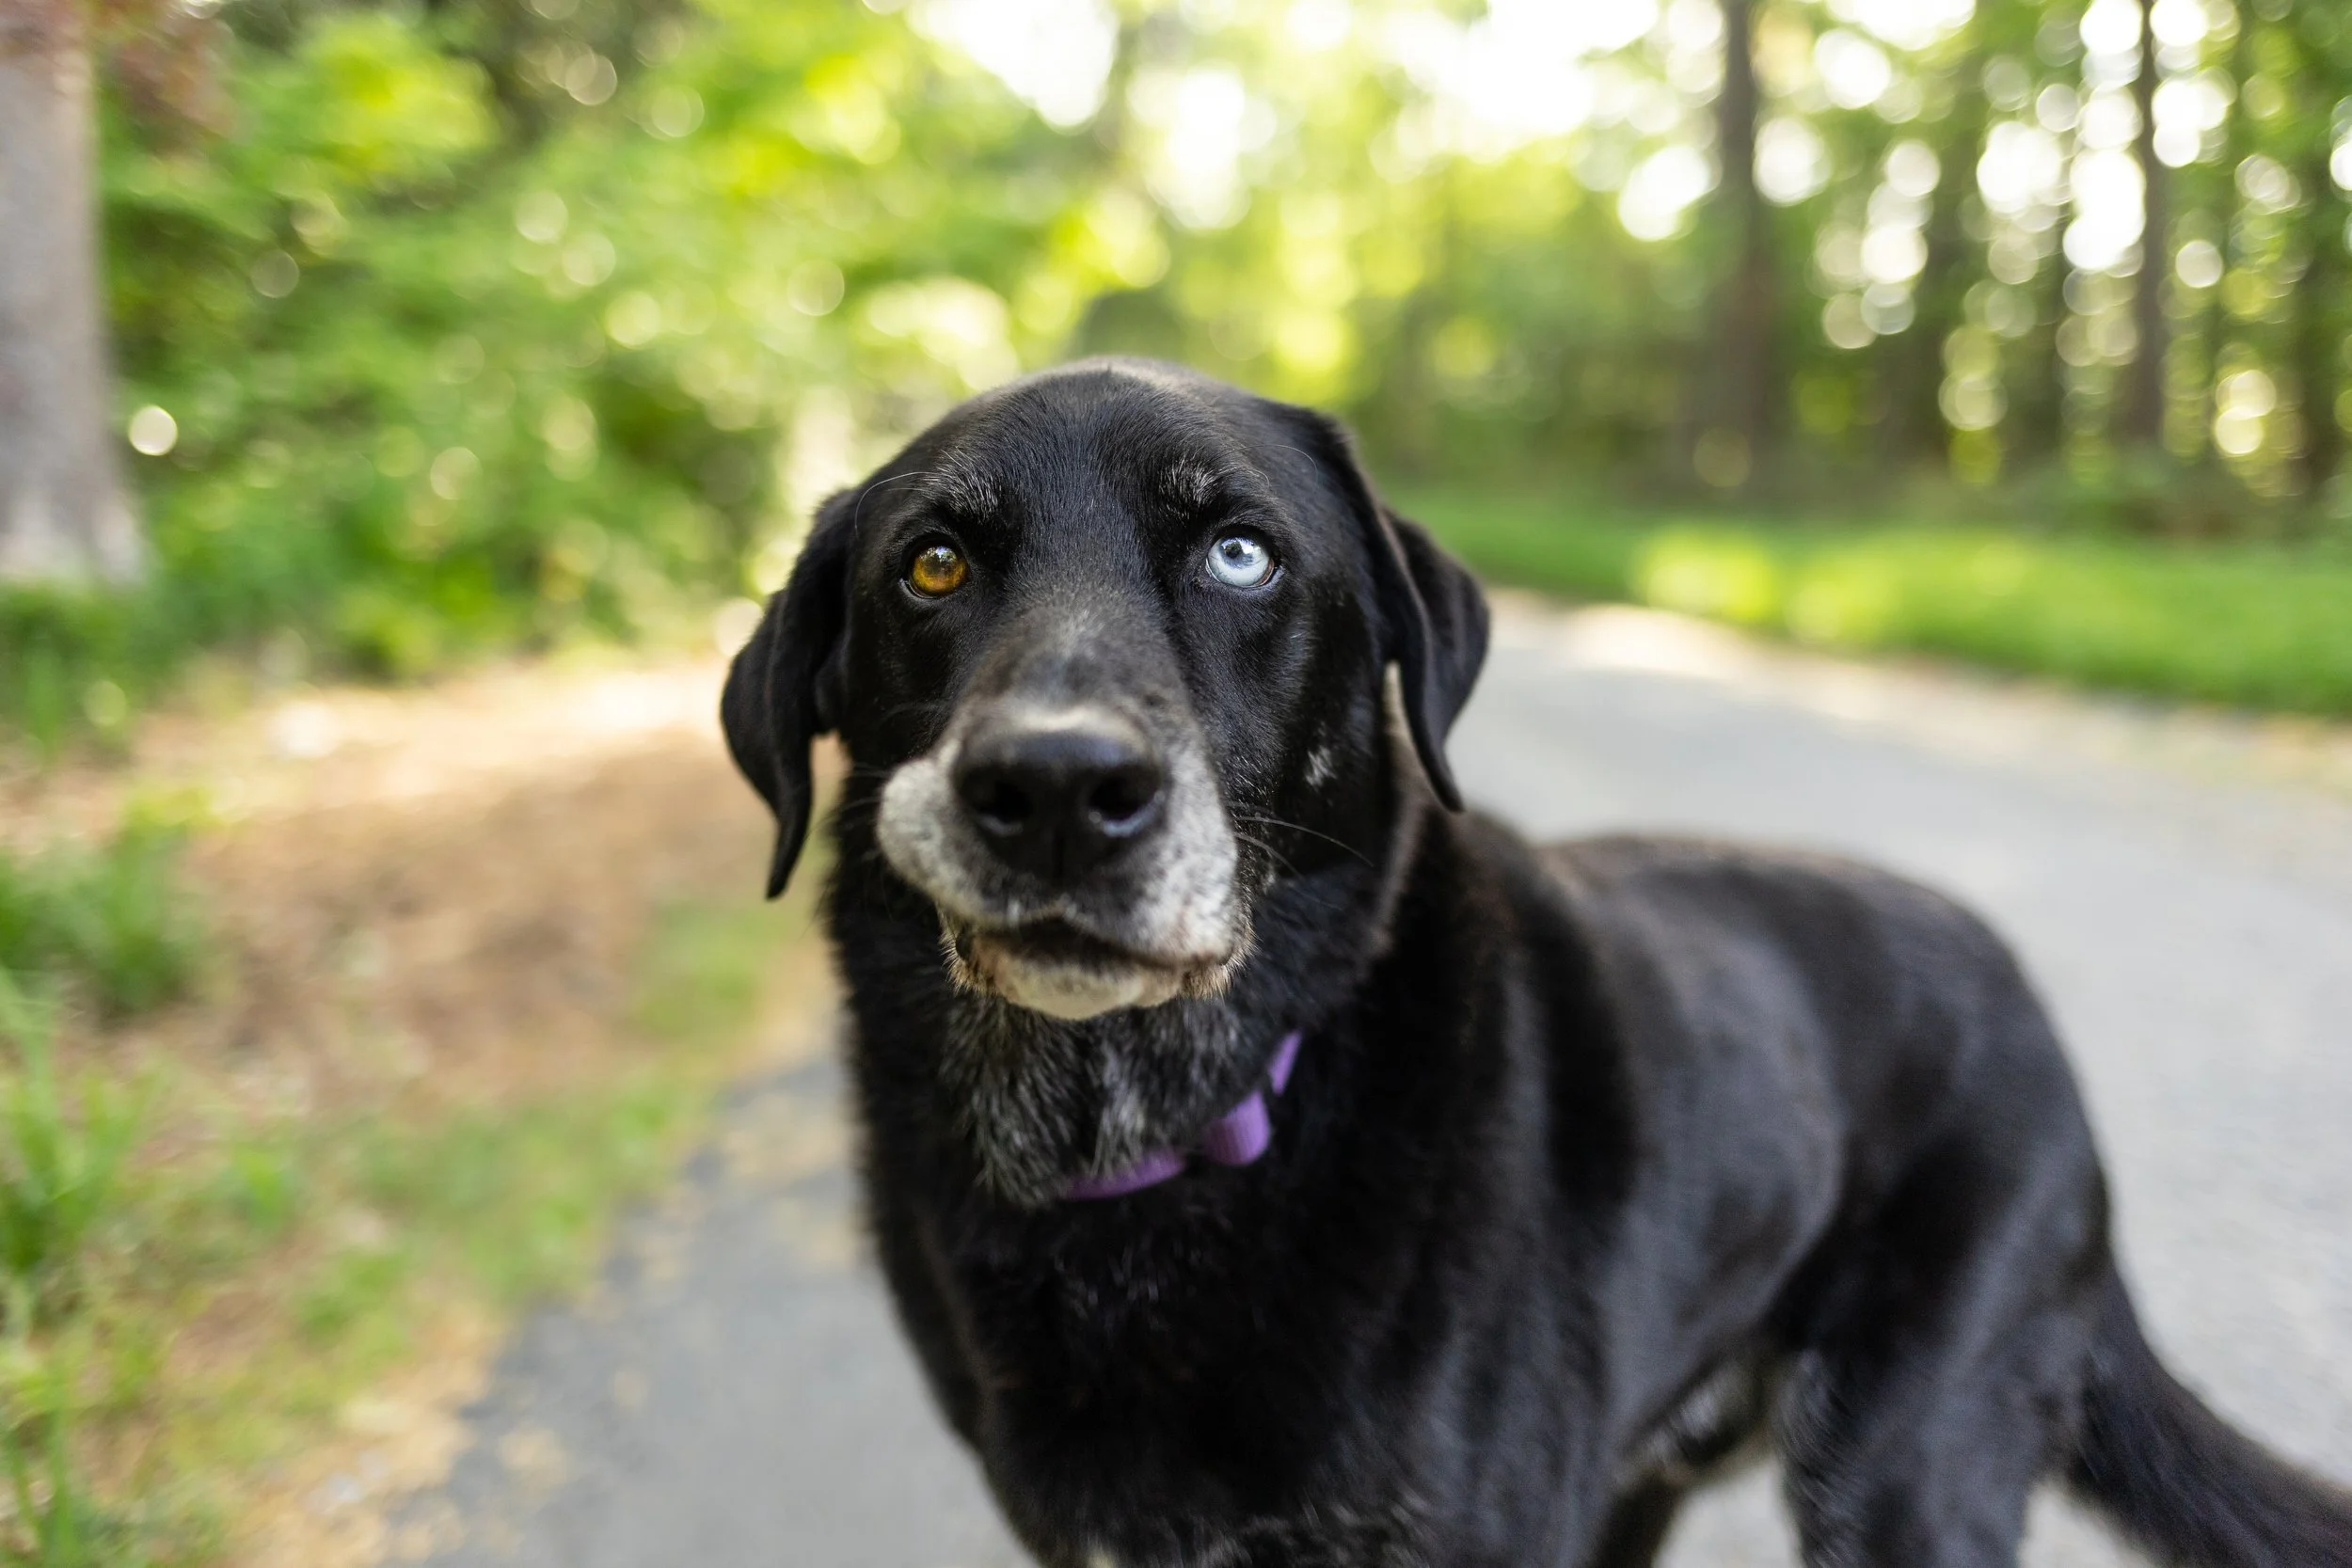
2 CATCH THE CATCHLIGHTS
Next up, catch the catchlights!
Catchlights are what make the dog’s eyes truly stand out, so if you are constantly missing out on the catch lights in the dog’s eyes because the light is too high, there isn’t enough light, or they are facing away from the light, you lose so much expression and the opportunity to really draw the viewer in to the image.
3 CAPTURE A VARIETY OF EXPRESSIONS
Third, capture a variety of expressions especially if you want to work as pet photographer photographing commercial work or client’s pets.
This is something I really didn’t pay attention to when I first started and I wish I had because it would’ve created so much more variety and impact for both my portfolio and during my client sessions.
Expressions can help clients to feel like you’ve captured their dog in the way they know them best, especially if a dog is extremely expressive, silly, stoic, or dopey.
This photo of Jacks suits his personality perfectly - dopey and a bit aloof! Add this to his serious and happy expressions and we’ve given the client a few options to choose from!
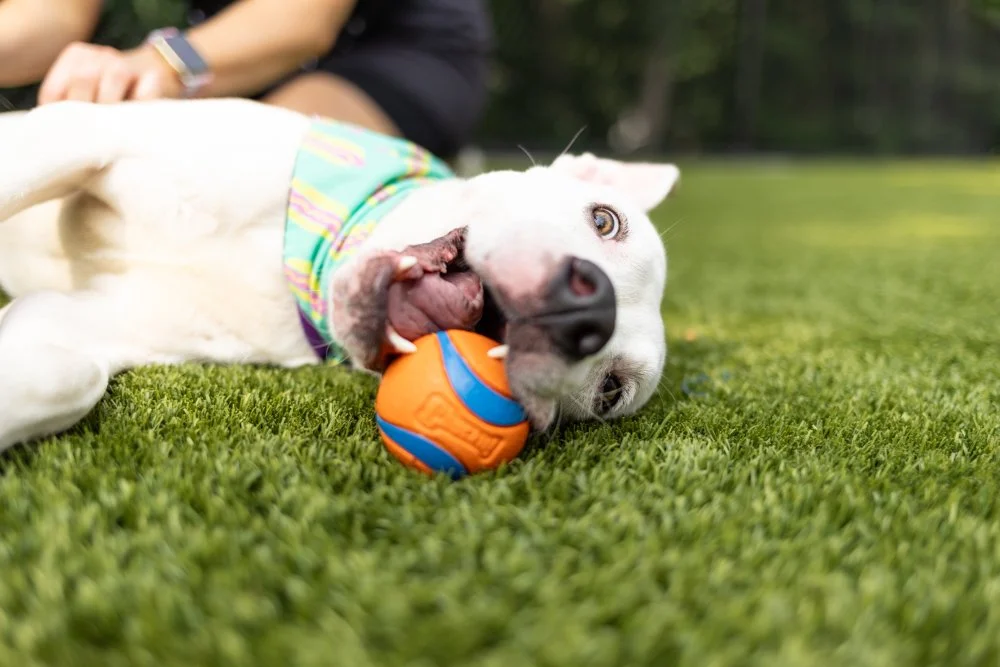
4 INCORPORATE VARIETY
This fourth tip kind of coincides with the third and that is to incorporate variety in your sessions.
So from photographing pets and people, to detail shots, group dog photos, incorporating play and action shots, to simple portraits and so much more, try as much as you can to capture a wide variety of images in your session because not only will that make you a better photographer, but it will also help with your client sales and your overall versatility.

In this room mockup, you can see the variety of images captured from this client’s session from motion to detail to pets and people and more.
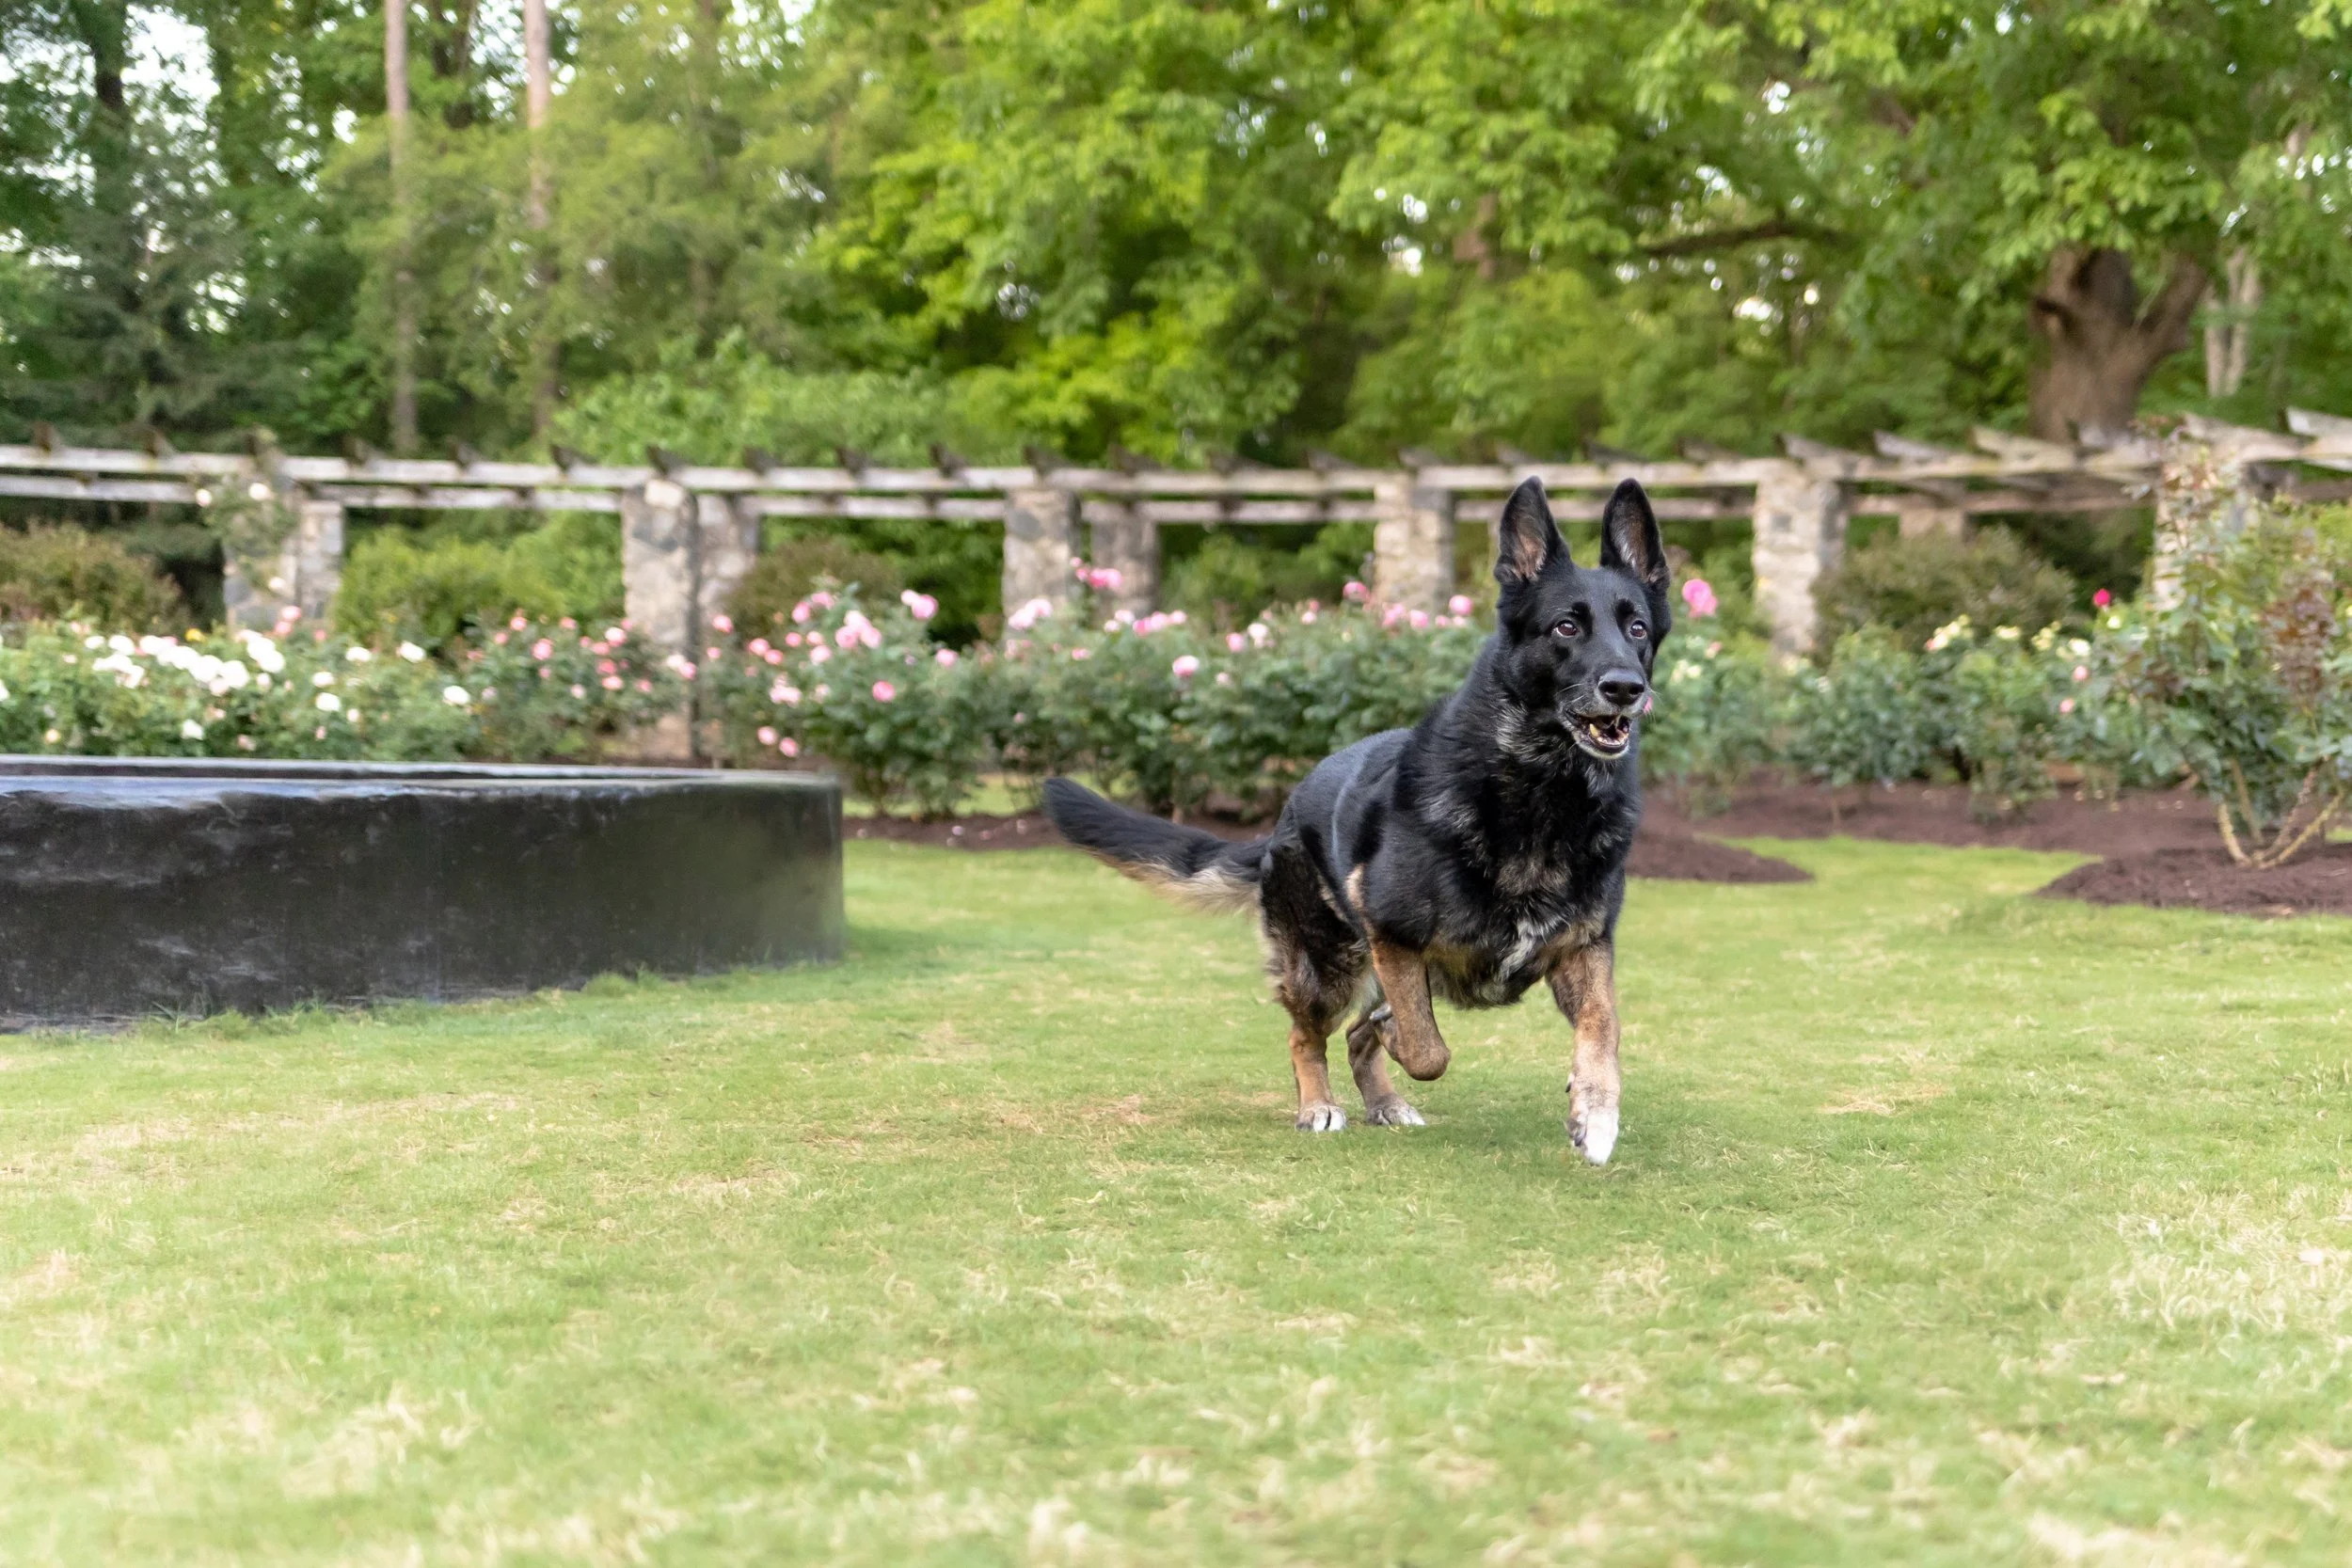
5 CREATE DISTANCE FROM THE BACKGROUND
Fifth, try to create separation from any background you are using whether it’s an actual backdrop or a natural setting. Creating distance between your background and the subject is not only more visually appealing, but it helps to blur out the background and put more focus on your subject, so they truly stand out.

In this photo of Axl, we are quite a distance away from the trees in the background making them less in focus and Axl more of the focus of the image.
6 CAPTURE THE WHOLE DOG
My sixth tip is to make sure you capture the dog whole, so no missing feet, no cropped tail, no partial ears, that kind of thing. If the goal is to photograph the pet, try to get them in the entire frame and can crop what you need to later on.
It’s one more thing to pay attention to when photographing pets, but it can make a huge difference in your finished product.

A beautiful portrait from above of Baby! Notice her feet, ears, tail, and full body are entirely in the photo!
7 BECOME A STUDENT OF LIGHT
Photography literally means painting with light.
So, my seventh tip is to, become a student of light and really fall in love with understanding lighting.
Understanding lighting–the color, intensity, and type–as well as how it impacts your subject can really make your pet photography sing. This is true for both natural and artificial light.
If lighting is somewhere that you really struggle, then consider taking a lighting course, working, or reading up on it while putting it simultaneously into practice!
8 VARY THINGS UP
My eighth tip for improving your pet photography is to vary things up at your session.
I have seen photographers who make the dog sit ten times in a row without thought or consideration as to the dog’s comfort or fun level.
In fact, this particular dog looked bored to tears and was so disinterested in what was going on… that doesn’t make for a great photo.
Try making your sessions more fun by varying things up… move from portraits to action to portraits back to playtime with breaks in between, time for treats or water, affection, or to play with a favorite toy or chew on a stick.
By making the session really positive and fun, you are going to keep the dog’s attention longer, create a more positive experience for everyone involved, and capture some dynamite images, too!
Aslan loved getting to practice her recall during our session together! Remember, if a dog is having a hard time focusing on the camera - it’s time to break for some play or rest!
9 VOLUNTEER YOUR TIME
This ninth tip is not a technical suggestion, but rather where you can put a lot of this into practice without messing up on a client session and that is to volunteer your time.
I started my pet photography business back in 2019 by volunteering at my local shelter and it has given me so much opportunity to practice, play, try different things, and make a lot of mistakes that I’ve learned from.
So, if you want to become a stronger pet photographer and do a world of good, consider taking time each month or week to volunteer your time at your local shelter or with a local rescue and believe me, they can certainly use your help!
10 CONSIDER THE COMPOSITION
And last, but not least, consider your composition.
What’s in the foreground of the image? What’s in the background?
Can you make the composition more interesting by positioning your subject in a particular way?
Can you remove distractions, such as people, cars, signs, trash cans, etc?
Can you create something more visually appealing by creating depth in your image, so things in both the foreground and background?
Oftentimes when we first start out, we just point our camera and shoot without any thought as to the composition and how it will impact the final image.
The composition also plays a big role in how people’s eyes move around an image and how your subject stands out (or not) to the viewer.
So, if you haven’t played around with your composition, consider doing some research to learn more and practice, practice, practice.

As in this image of Daisy, the line of the flower bed leads your eye directly to our main subject. The curvature of the bed also provides visual interest and helps your eyes roam around the scene. The trees provide further color and depth in the image.
Now, let me know in the comments below which tips was most helpful for you! I’d love to hear your thoughts or if you have a favorite tip that I missed - be sure to share that below!
WORK WITH US
OTHER POSTS YOU MIGHT ENJOY
Create Belief In Yourself As a Pet Photographer
My Best Advice For Budding Pet Photographers
Tips For Photographing Black Dogs
Tips For Photographing Blind Or Deaf Dogs
EDUCATION FOR PET PHOTOGRAPHERS
50+ Ways To Market Your Pet Photography Business
A Beginner’s Guide To Dog Photography
101 Blog Post Ideas For Pet Photographers
100 Content Ideas For Pet Photographers
DIY Dogtography, A Virtual Workshop
All photos in this post are copyright of Five Freedoms Photography. For licensing and use, please contact us here.
